Crossbeam Partner API
Authentication
The Crossbeam API negotiates authentication using OAuth 2.0. If you are looking to integrate the Crossbeam API with an existing application or service, follow the standards for that architecture or ecosystem for OAuth 2.0 authorization using these URLs:
Authorization URL:
https://auth.crossbeam.com/authorize?audience=https://api.getcrossbeam.comAccess Token URL:
https://auth.crossbeam.com/oauth/token
Before you begin, you will need to create Application in Crossbeam; see the Custom section of https://app.crossbeam.com/integrations or see our help docs, found here.
If you want to get started quickly to kick the tires, see our section on Getting Started with Postman below.
Scope
OAuth scopes define the permissions your application will request from Crossbeam. For example, you might want to be able to access data about your partnerships, read report data, or be able to read and update threads.
Our documentation for each endpoint includes which scope(s) is required in order to use the endpoint. Here is some base information about choosing a scope value:
At a minimum,
openidThe scopes for the endpoints you'd like this token to have access to. For example, if you only want to access
/v1/partners, the scope would beopenid read:partnerships
For reference, here is a full list of scopes that our API accepts:
openidread:partnershipsread:reportsread:populationswrite:activity-timeline
Access Token Expiry and Refresh Tokens
Access tokens are only valid for 24 hours. In order to stay authenticated, you may request a Refresh Token.
To do so, add offline_access to your list of scopes when authenticating. For example, if you only want to access /v1/partners, the scope would be openid read:partnerships offline_access. Y
In order to exchange a refresh_token for a new access_token, below is a sample cURL. See the 1. Create an Application section below to understand how to obtain a client_id and client_secret.
Required Headers
Most of our endpoints require 2 headers in order to be authorized. The first is the Authorization header containing the OAuth token. For example
Authorization: Bearer eyJhb....
The second header is used to tell our backend which organization you want to access data for. A Crossbeam user can belong to 1 or more organizations. You can obtain a list of organizations the user belongs to via the /v0.1/users/me endpoint. You can then extract the uuid field for the organization whose data you wish to access and provide this in the Xbeam-Organization header. For example:
Xbeam-Organization: 02fde942-c7cd-4f12-9d4e-07ee8a57c8c6
Sample Client App
We have an example of how a 3rd party application might interact with the REST API to retrieve tokens. Please note that this source code is provided as-is and is not intended for production use.
Getting Started with Postman
For quick access to see your data, you can use Postman with this collection. Note that you must use the desktop application, not the web application, which you can download here.
Demo
If you'd prefer to watch this tutorial, a demo is available here. Otherwise continue reading.
1. Create an Application
Log in to Crossbeam and visit https://app.crossbeam.com/integrations, where you will see a section to create a custom integration. Click Create Integration:
Integration name: Choose whatever name you'd like to identify this app
Integration description: Optionally write a description for your app
Callback URL: Set this to
https://oauth.pstmn.io/v1/callbackAllowed Origins: Leave this value blank
Click Create and once the app has been created, click View. Copy the values for Client ID and Client Secret, you'll need these in the next section.
2. Configure Postman
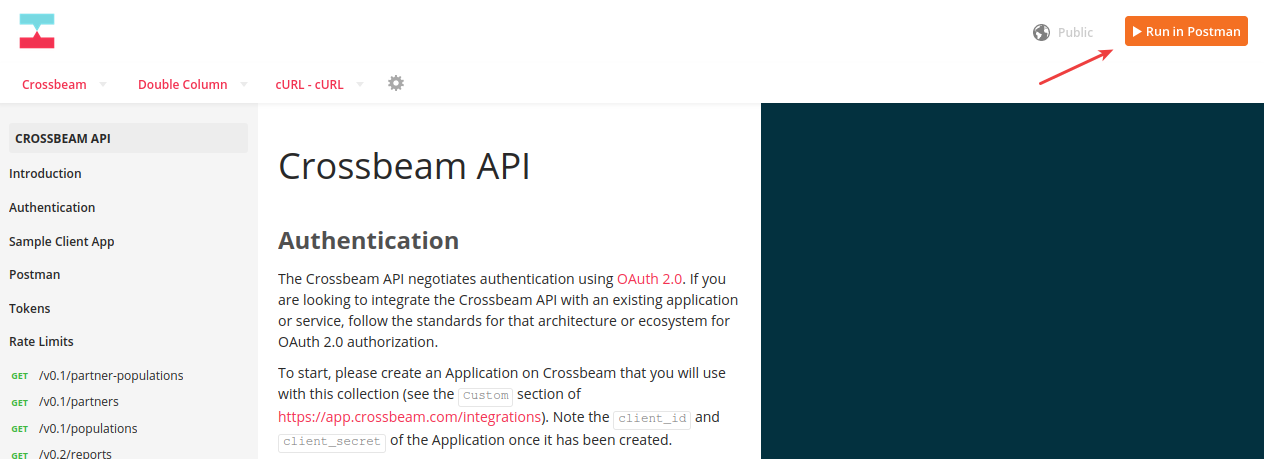
At the top of these docs, click Run in Postman:
This will clone our Postman resources into your Postman app.
Next, select the Crossbeam environment as your active environment:

Finally, we'll edit the Crossbeam API collection to enter your Client ID and Secret which you got from the previous step. The Edit functionality can be found as shown:
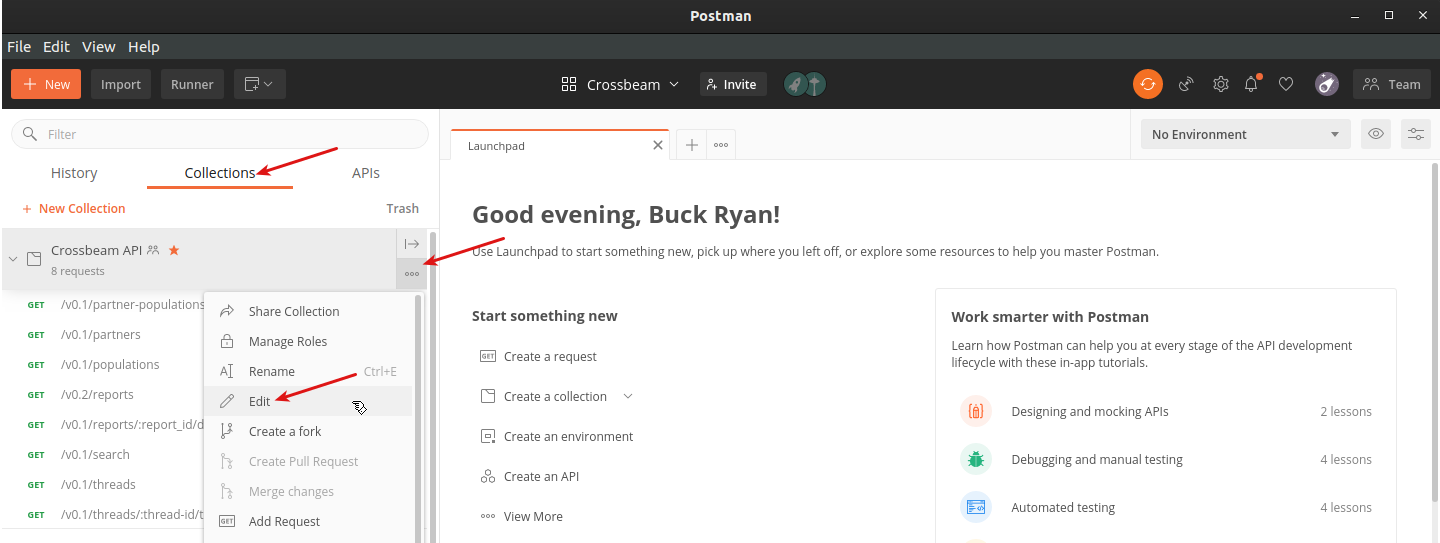
Click on the Variables tab, where you will see variables for client_id and client_secret. Set the Current Value for these variables to the values you copied from the previous section and then click Update.
Note: There are other variables in this section which we are not using right now, but will be useful later. In particular, the scope variable will control what resources your tokens have access to.
Rate Limits
Rate limits are defined in our security policy and are subject to change with our own discretion.